Advertisement
Sketch a Perfect Rose: Tips and Tricks for Beautiful Floral Art
Advertisement
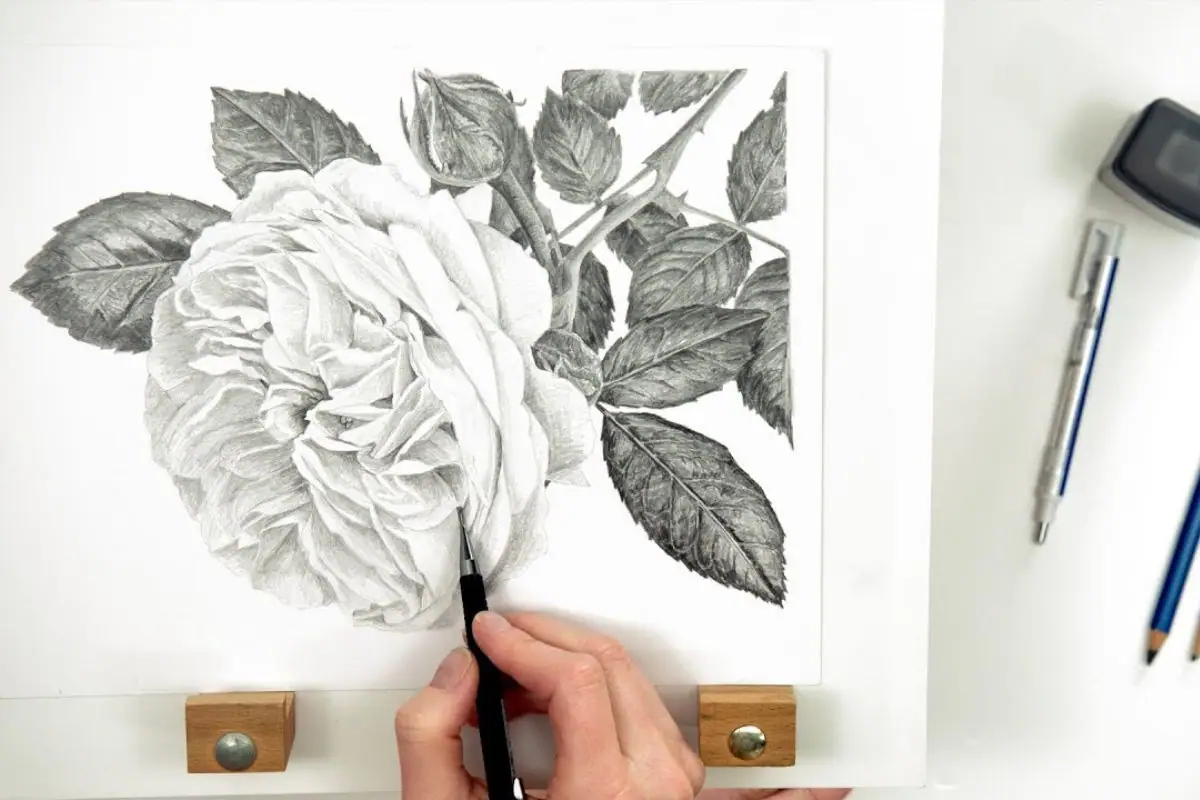
Roses are celebrated as symbols of beauty and love, making them a popular subject in art due to their intricate and appealing appearance. However, drawing a rose can seem daunting due to its multiple layers and depth. With patience and attention to detail, anyone can master the art of drawing a rose. This guide is crafted to assist you in drawing a rose accurately, ensuring that with practice, you can create a stunning representation every time.
Preparing Your Drawing Tools
Before you start sketching, it's essential to gather the right tools. You’ll need three types of pencils: a hard pencil for initial sketches, a medium soft pencil for general shading, and a soft pencil for adding depth. If you only have one pencil, adjusting the pressure can also work. Besides these pencils, ensure you have a clean sheet of drawing paper and a pencil sharpener handy to maintain sharp points on your pencils, which is crucial for fine details.

Advertisement
Starting with the Base Sketch
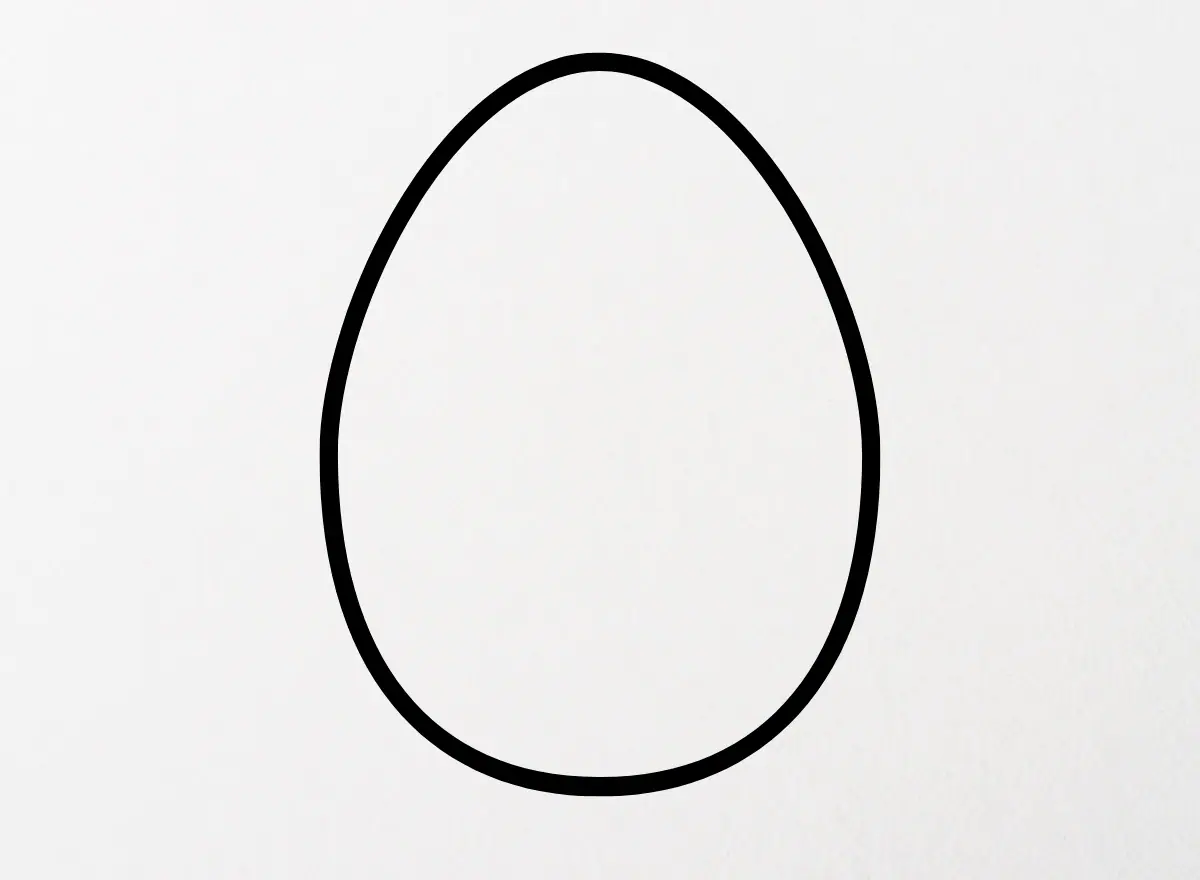
The first step in drawing a rose is to sketch an egg-shaped oval lightly on your paper using the hard pencil. This shape will serve as the foundational structure for your rose's bud. Draw lightly, as these lines are meant to guide your further sketches and not dominate them. At the top of this oval, make a slight indentation or curve—this marks the opening from where the petals will emerge.
Advertisement
Adding the Inner Petals
Inside the small opening at the top of the oval, begin to draw delicate, overlapping circles. These small circles will outline the complex structure of the rose's inner petals. Keep the lines fine and contained within the designated opening area. Around this cluster of circles, sketch a heart shape to define the boundary for the outer petals, which will be added later.
Advertisement
Connecting the Petal Outlines
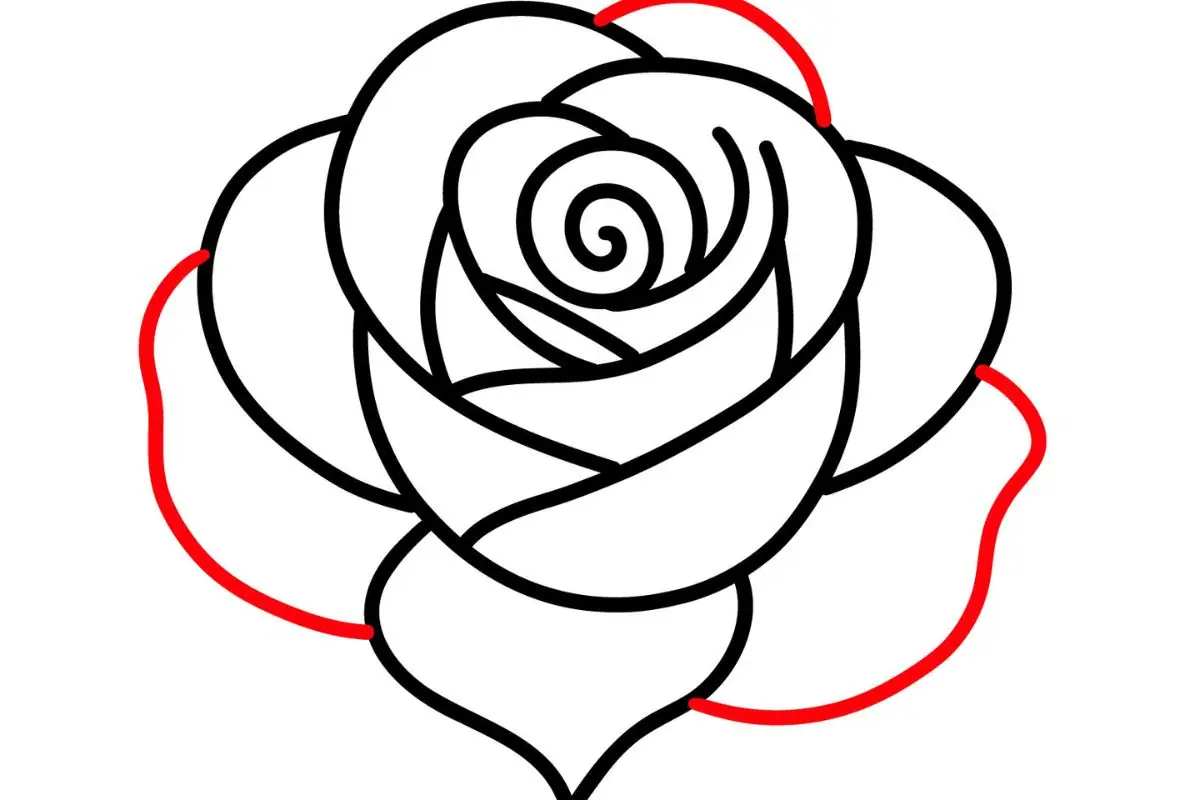
Continue by connecting the outer edge of the heart shape down to the base of the oval. This connection forms the basic structure of the rose’s petals extending from the bud. Add another heart-shaped outline around the first, slightly larger and extending further out. This layer adds more volume to the petal arrangement and begins to suggest the full bloom of the rose.
Advertisement
Developing the Rose's Body
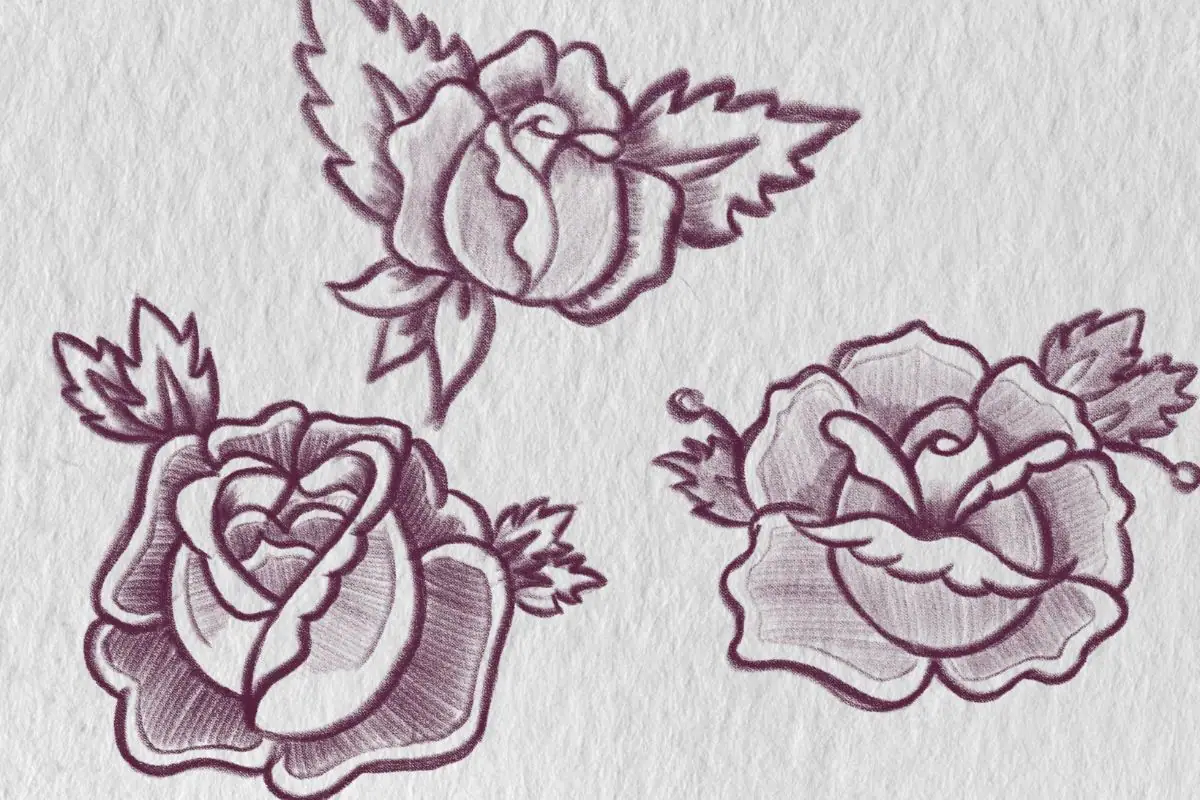
Now, draw another heart shape around the previous ones, but make this one larger and with a more relaxed, flowing outline. Allow the sides of this heart to open loosely at the base of the bud, suggesting the unfolding nature of the rose petals. Inside this outline, add fine lines to create the texture and depth of the petals, layering them until the rose starts to look three-dimensional.
Advertisement
Defining the Inner Bud
Focus next on the inner bud of the rose. Add a more detailed petal in the form of a backward, vertical ‘S’ shape across the front of the bud. This shape should mimic the natural curve of a petal and add depth to the center of the rose. Connect these lines smoothly to integrate them into the overall bud structure.
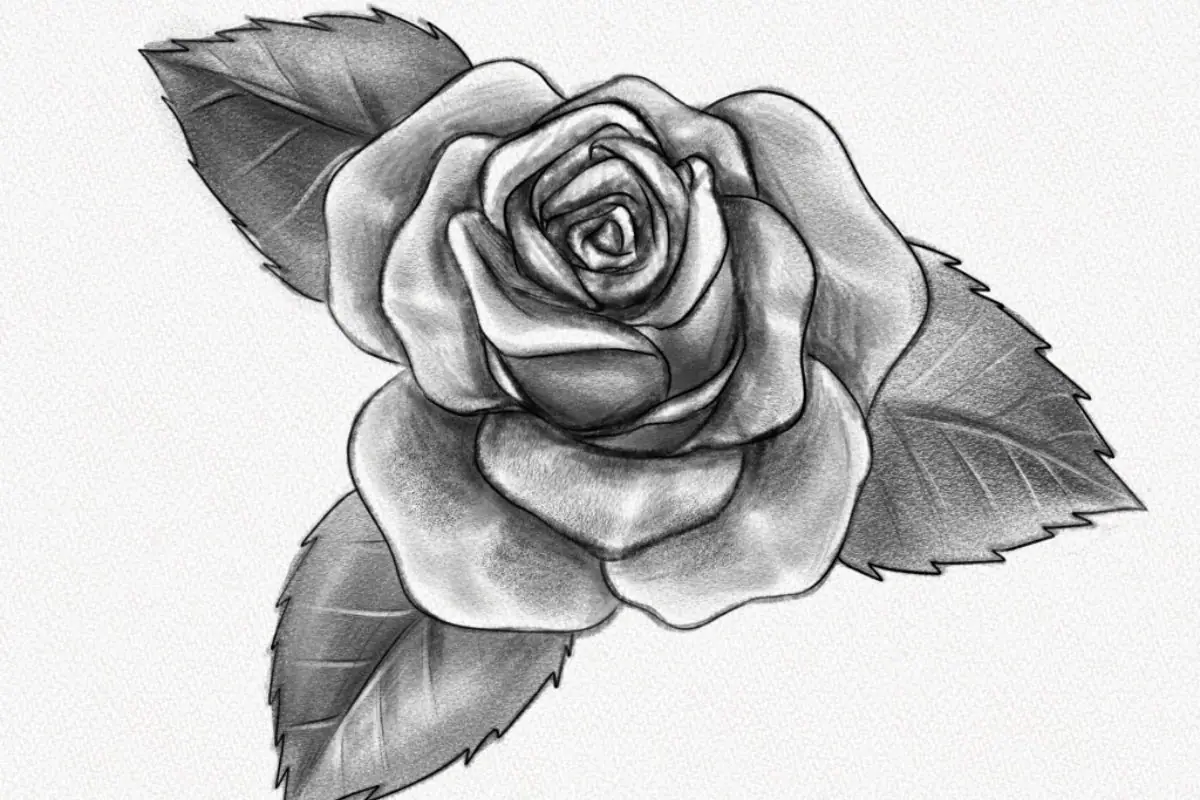
Advertisement
Creating the Outer Petal Cup
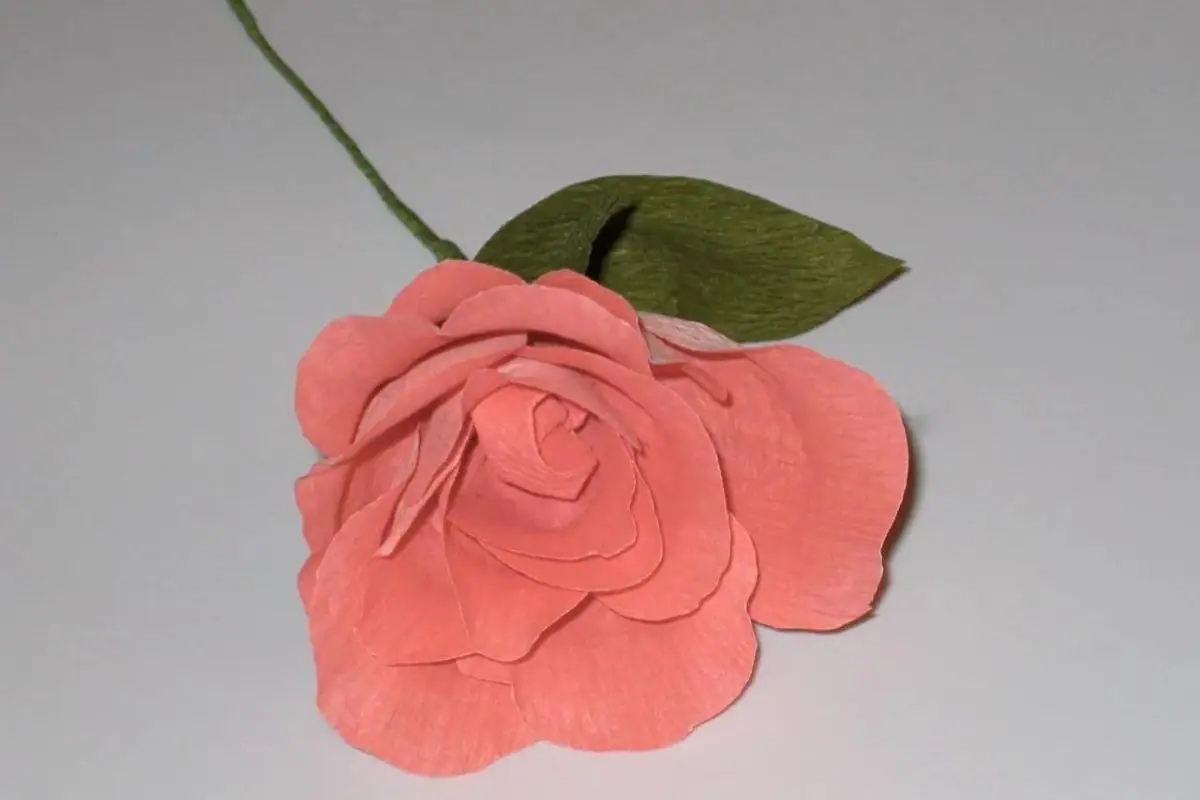
The outer petals form a cup around the bud and are crucial for achieving the rose's iconic shape. Start these petals from the center of the bud, curving outward and then looping back to attach higher on the bud, creating a layered effect. Progressively build these layers, allowing each petal to expand outward and downward, simulating the natural growth and opening of a rose’s petals.
Advertisement
Refining the Petal Edges
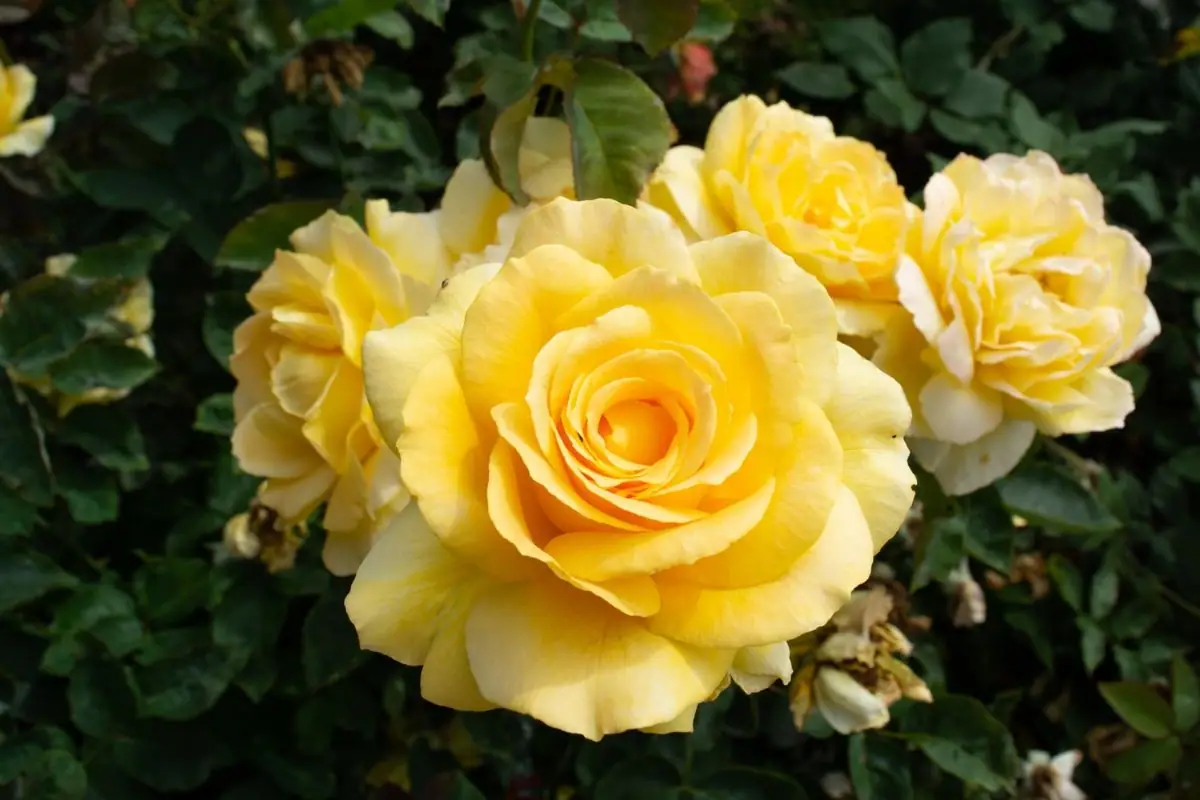
Refine your sketch by going over the petal outlines to enhance the rose’s shape. Apply more pressure on the lines that define the outer petals and the heart of the rose to make them prominent. Keep the connecting lines between these shapes lighter to help the petals appear more delicate and lifelike.
Advertisement
Shading for Realism
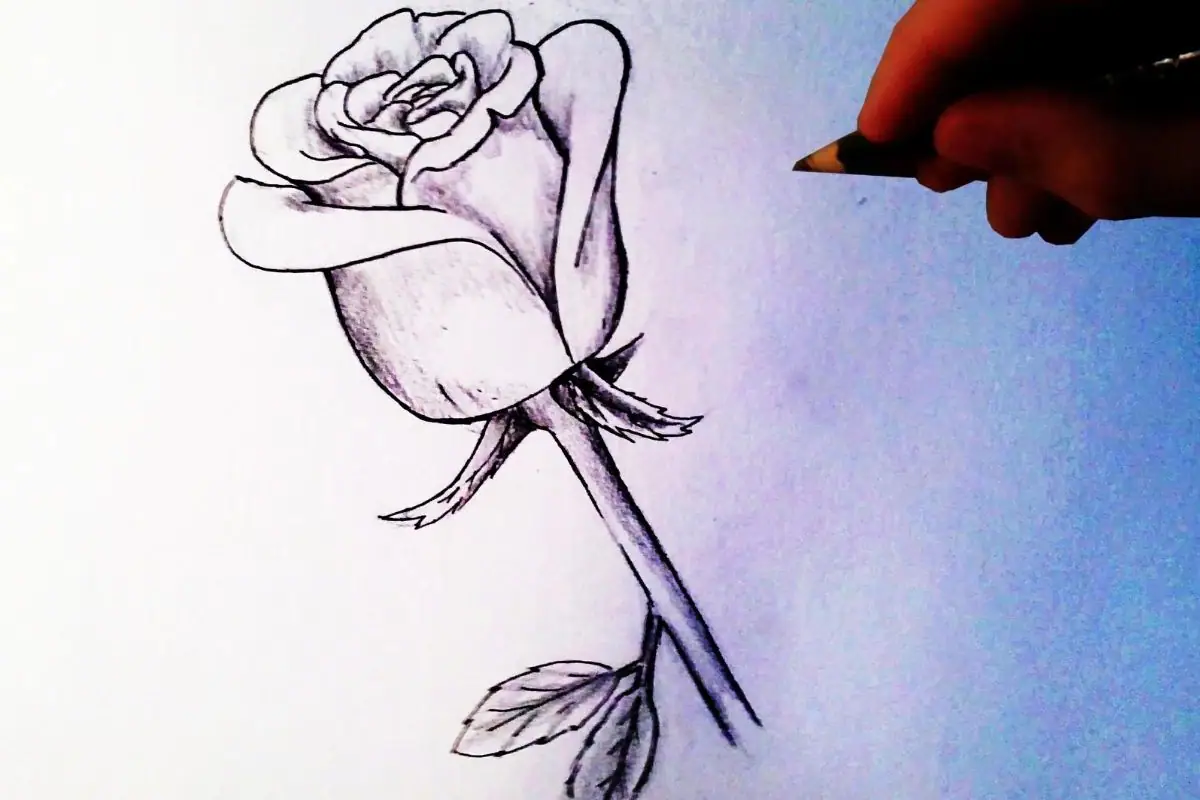
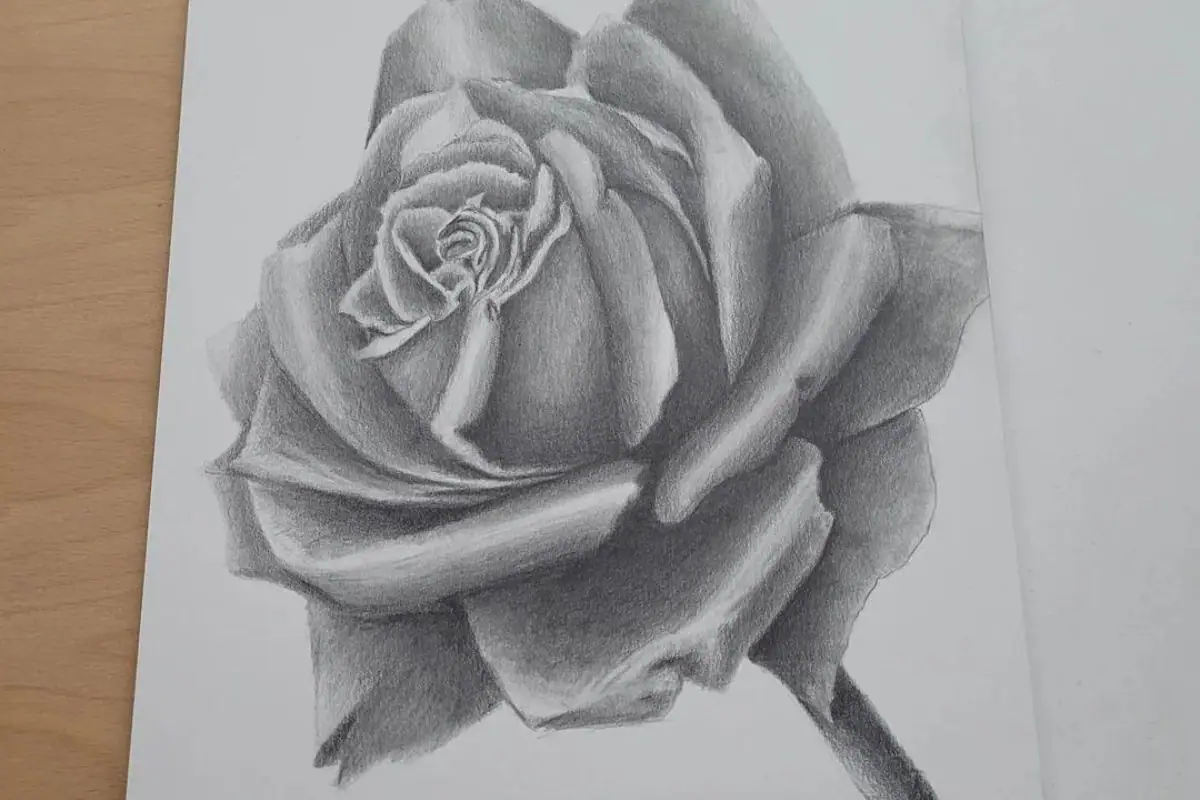
With the outline complete, begin shading with the soft pencil. Start with light shading within the petals, gradually increasing pressure to deepen the shadows, especially where the petals overlap or curl inward. This shading will give your rose volume and a more realistic appearance.
Advertisement
Adding Final Textural Details
To finish your drawing, add textural details to the petals. Use the hard pencil to lightly sketch lines that follow the contours of the petals, enhancing their three-dimensional form. Balance the light and shaded areas to create contrast, which adds to the visual impact of your drawing. Finally, use the softest pencil to accentuate the darkest areas of the rose, deepening the shadows to complete your artwork.
.png)


