Advertisement
How to Make a Tutu Skirt
Advertisement
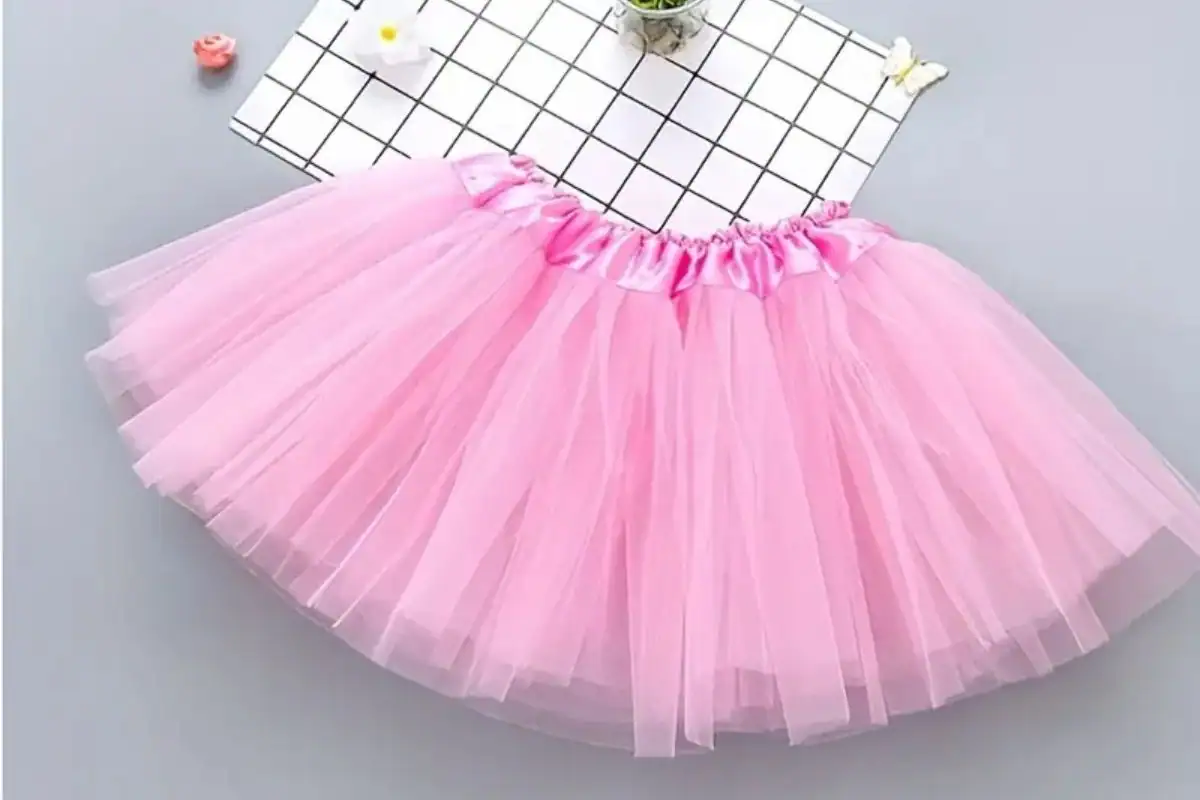
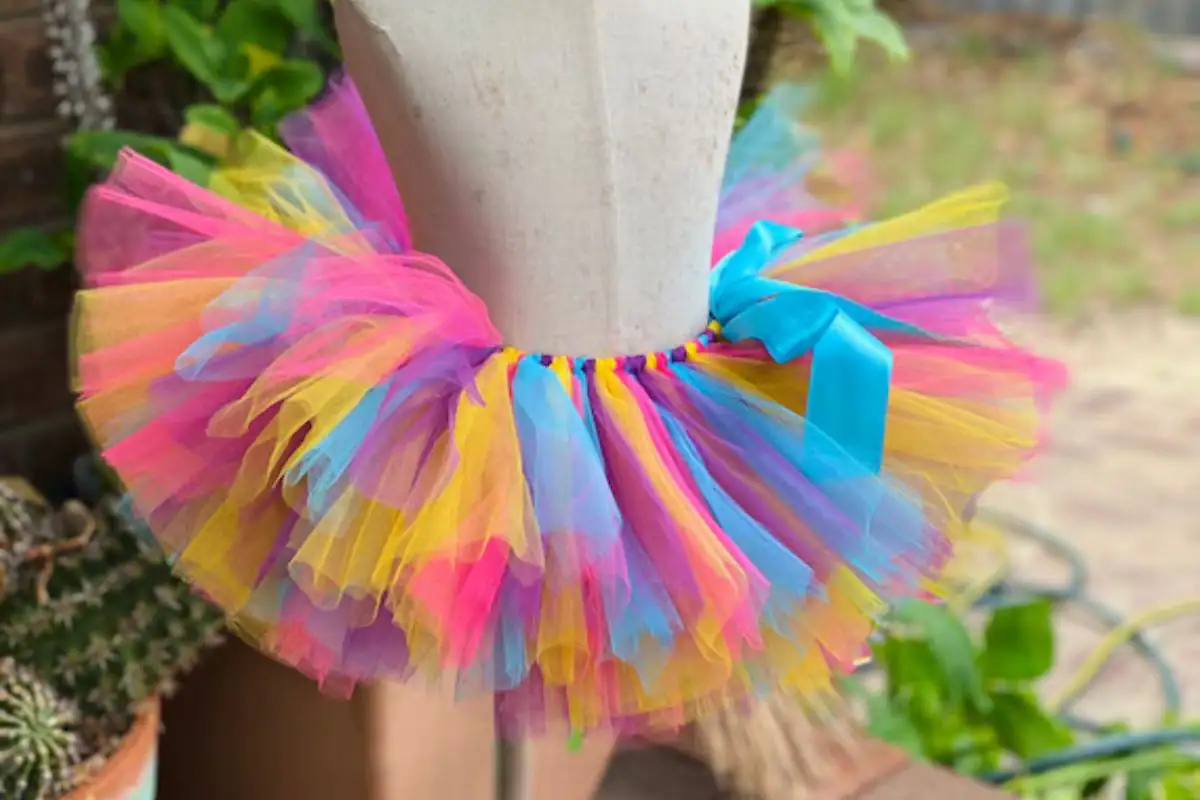
Making a tutu skirt can be a fun and rewarding project, whether you're crafting it for a ballet recital, a Halloween costume, a thoughtful gift, or just to spice up your wardrobe. Sure, tutus you find in stores can cost a pretty penny, but by making one yourself, you'll save both money and time. Plus, it's as easy as pie—you won't even need a sewing machine! All you need is some tulle and elastic, and you'll be good to go.
Types of Tutus
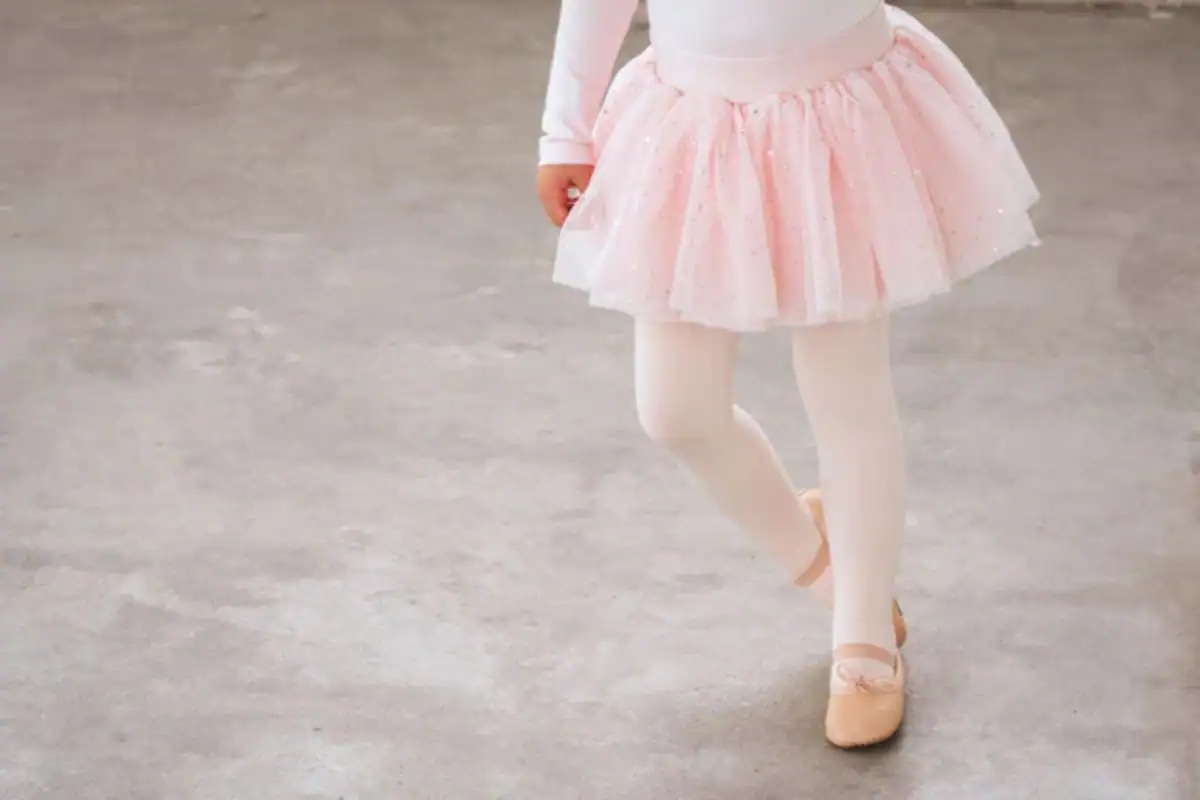
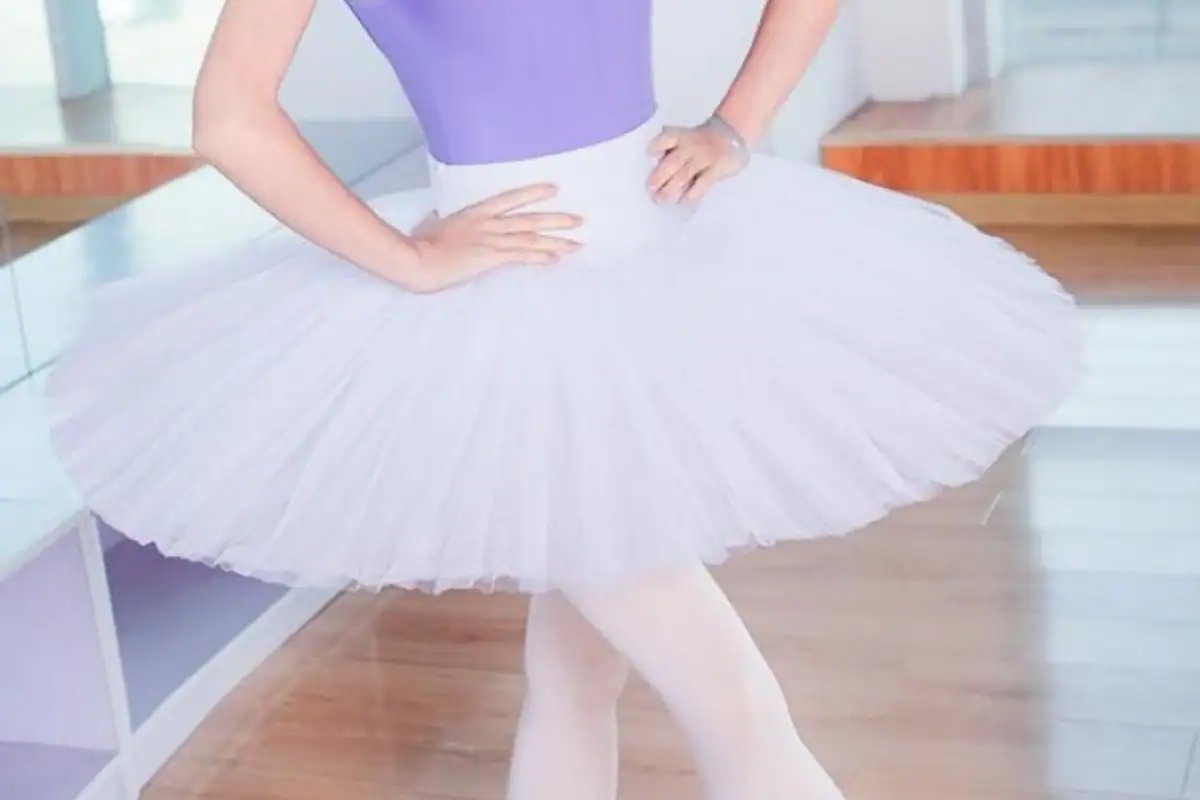
There are five main types of tutus- pancake, romantic, bell, platter, and powder-puff. First off, the pancake tutu is extremely short and sticks straight out from the hips. Then there's the romantic tutu, which is long and flowing with five or six layers that reach down to the mid-calf. The bell tutu is short, stiff, and shaped just like a bell. The platter tutu is similar to the pancake style but has a flat top and is often decorated. Lastly, the powder-puff tutu moves gracefully with the dancer and doesn't stick straight out. Knowing the different types helps you choose the perfect style for your needs.
Advertisement
How to Make a Tutu Step-by-Step
Ready to make your own tutu? Let's walk through the steps together.
- Measure the waist: First, measure the person's waist and subtract four inches from that measurement before cutting your elastic.
- Prepare the elastic: Next, fold the elastic so the ends meet, and pin them securely in place.
- Cut the tulle strips: Then, cut tulle strips that are double the desired length of the tutu.
- Attach the tulle: Now, take a tulle strip, fold it in half to form a U-shaped loop, and place it over the elastic band.
- Create the knot: Fold the U-shaped part under the band and pull the ends through the loop.
- Tighten the knot: Tighten the knot by pulling it snug.
- Add more tulle: Push the knots together on the elastic to make room for more tulle strips.
- Repeat the process: Repeat these steps until the entire elastic band is filled.
Before you know it, you'll have a beautiful tutu ready to wear!

Advertisement
How to Stiffen a Tutu
To give your tutu that classic, stiff look, you can use water or spray starch. Simply dampen the tutu evenly or spray it with starch. Then, hang it upside down using a hanger and let it dry completely. This method helps the tutu maintain its shape and gives it that angular effect typical of tutus. It's a simple step that makes a big difference in the final appearance.

Advertisement
Different Types of Fabric
When creating a tutu, you have a variety of fabrics to choose from. Options include tarlatan, muslin, silk, tulle, gauze, and nylon. Muslin is great for adding decorative elements, while tulle is lightweight and airy. Silk offers a soft and pliable texture, and gauze provides a lot of volume. Each fabric brings its own unique qualities, so consider what look and feel you're aiming for when selecting your material.

Advertisement
How to Clean a Tutu
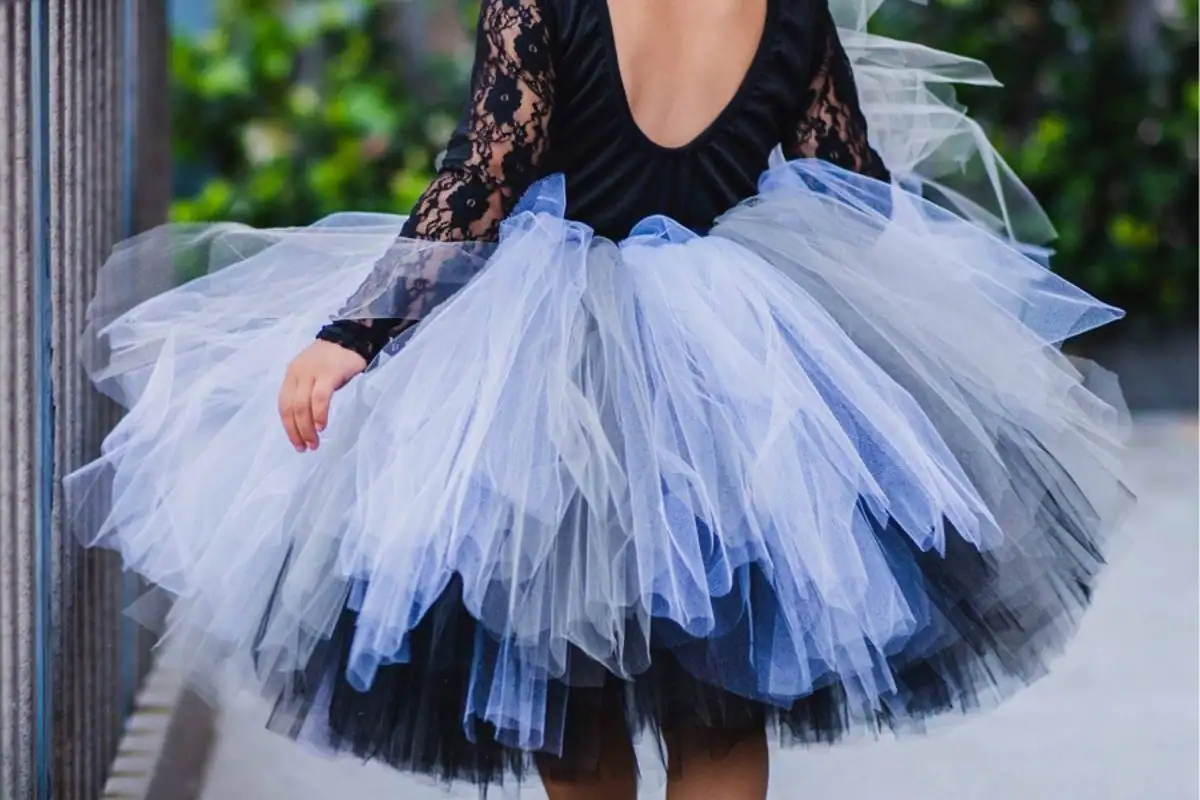
If your tutu gets dirty or develops an unpleasant odor, there's an easy fix. Mix high-proof vodka with water and pour the solution into a spray bottle. Spritz it onto the soiled areas of the tutu. The alcohol helps to remove stains and odors without leaving any scent behind. It's a nifty trick that keeps your tutu fresh without damaging the fabric.
Advertisement
Avoid These Mistakes
To ensure your tutu looks flattering, choose colors and styles that suit the person who will be wearing it. For taller individuals, longer skirts help balance their height. Additionally, make sure to measure your materials accurately to avoid any fitting issues. Paying attention to these details can make all the difference in the final product.
Advertisement
The History of a Tutu
Did you know the first romantic tutu made its debut in 1832, worn by Maria Taglioni? The tutu consists of three parts: the bodice, the basque, and the skirt. It's designed to hug the body while allowing the dancer to move freely. Understanding its history adds a special appreciation for this iconic garment.
Advertisement
How the Tutu Changed
It wasn't until the 1930s and 1940s that ballerinas began swapping the long romantic tutus for shorter versions, which we now know as the classical tutu. Mikhail Fokin was a pioneer in this shift, introducing tutus in his performances. This change allowed dancers greater freedom of movement and showcased their technique.
Advertisement
Uses for a Tutu
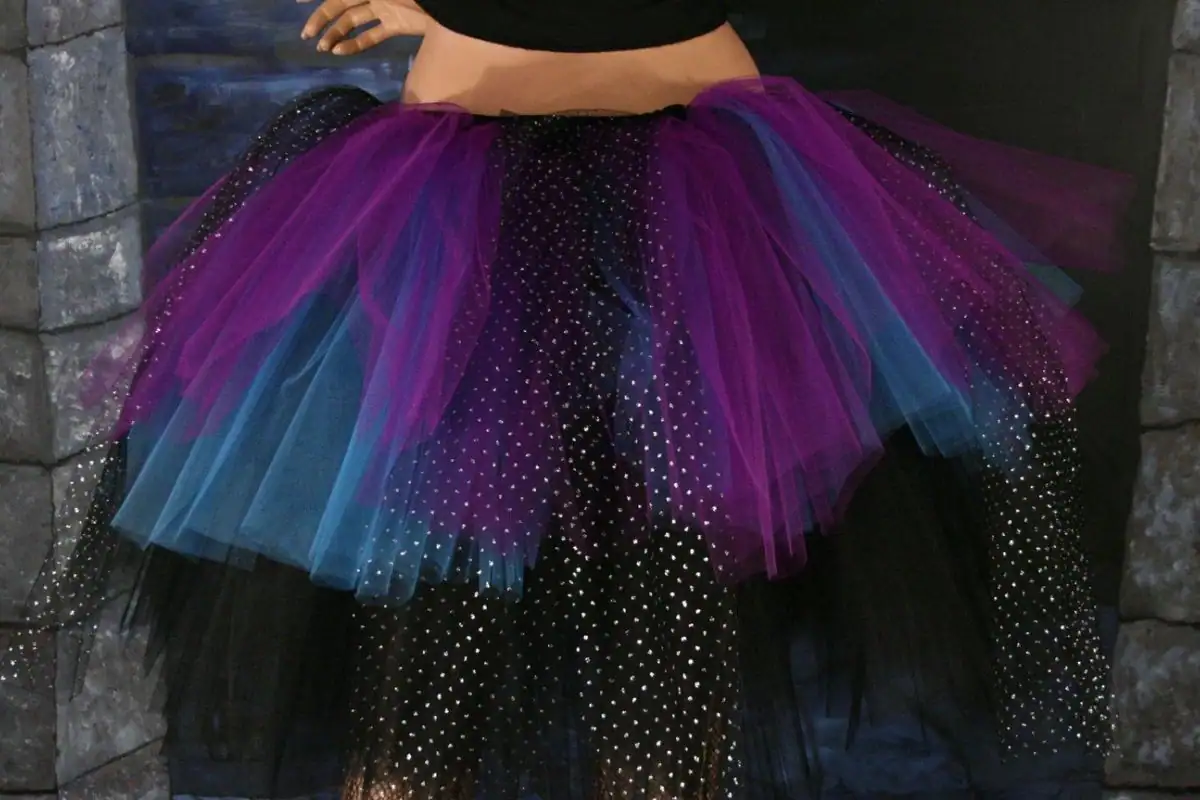
While ballerinas primarily wear tutus during performances, these skirts have found their way into other areas. You can use a tutu for dress-up, as a festive outfit for a birthday party, or even incorporate it into everyday fashion as a fun skirt or dress, depending on its length. The possibilities are endless!
Advertisement
Fun Facts
- Storage tip: To keep a tutu stiff when it's not being worn, hang it upside down.
- Historical tweak: In the 1940s, wire was added inside tutus to expand them at the hips.
- Time and materials: It can take about 100 yards of tulle and 40 to 60 hours of meticulous work to create a single tutu.
Now you know more about tutus than you probably ever thought you would!

.png)


