Advertisement
How to Solve a Rubik's Cube: Easy Methods for Beginners
Advertisement
Solving a Rubik’s Cube can seem like an impossible challenge, almost as if only geniuses could master it. Yet, with a bit of practice and patience, anyone can learn how to solve it. The trick lies in understanding the process and repeating it until it becomes second nature. Once you crack the method, it’ll stick with you forever—kind of like learning to ride a bike. Don’t believe it? No worries! Follow along with these steps and see how quickly you can become a pro.
The Birth of the Rubik’s Cube
Have you ever wondered where the Rubik’s Cube came from? While it feels like it’s been around forever, it hasn’t. The cube was invented by Ernő Rubik, a Hungarian sculptor and architecture professor, who initially designed it as a teaching tool. Known also as the Magic Cube or Puzzle Cube, this invention caught on far beyond Rubik’s original intentions. By the 1980s, it had become a global sensation, earning its place as a cultural icon. Today, the Rubik’s Cube is still popular, inspiring worldwide competitions and challenging minds of all ages. Who knows? With this guide, you could even find yourself competing one day!

Advertisement
Rubik’s Cube Basics for Beginners
There’s more than one way to solve a Rubik’s Cube, but starting simple is always best. Don’t be intimidated by its reputation—anyone can learn with the right approach. One of the reasons it’s the world’s best-selling toy is because of its engaging and rewarding nature. And here’s a fun fact: solving a cube has less to do with intelligence and more with learning a sequence of moves. So, forget any doubts about needing a high IQ and get ready to master the basics. Remember, even the pros were beginners once!

Advertisement
Step 1: Get Familiar with Your Cube
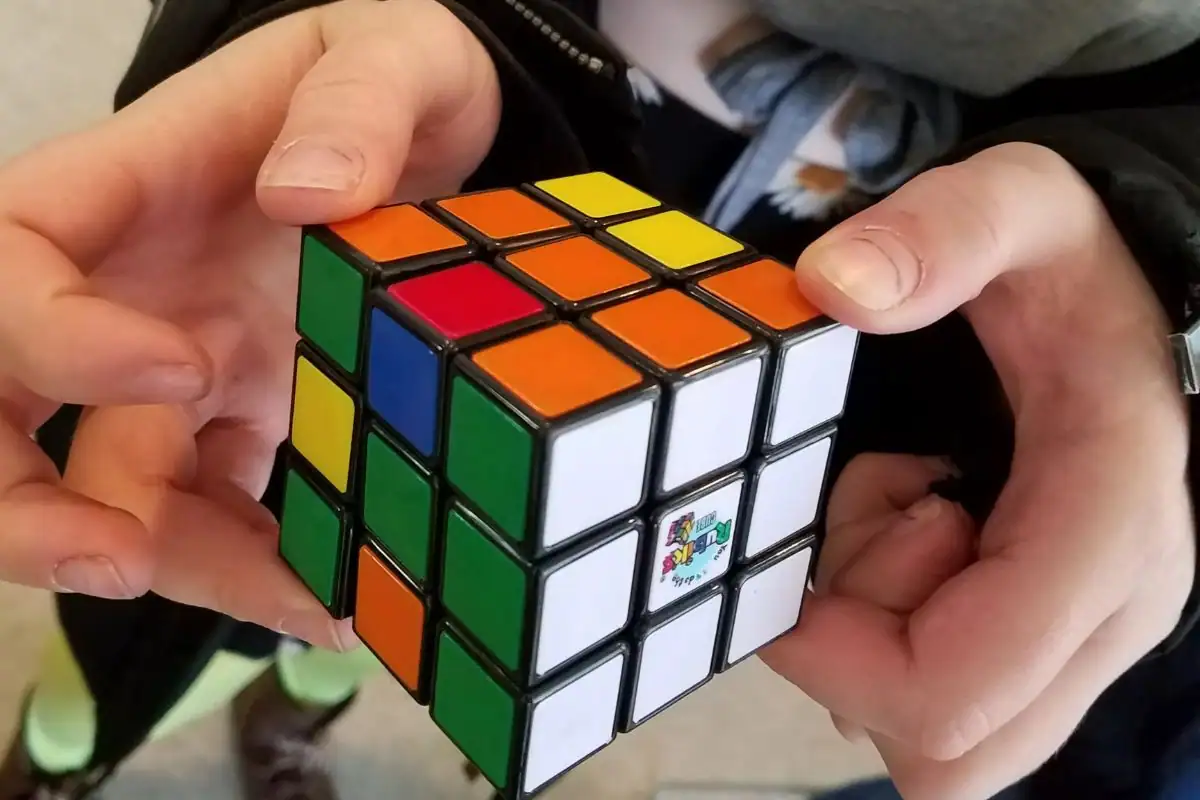
The first step is understanding the structure of the Rubik’s Cube. Each side is represented by a letter, and the cube itself has three types of pieces:
- Edge pieces: These have two colors, with 12 located in the middle rows.
- Corner pieces: These have three colors, with eight positioned at the cube’s corners.
- Centerpieces: These are the single-colored middle pieces on each side that don’t move and define the color of each face.
Knowing these parts will make solving the puzzle much easier. Take a moment to study the cube and how it moves. This foundation is essential for solving it efficiently.
Advertisement
Step 2: Solve the White Cross
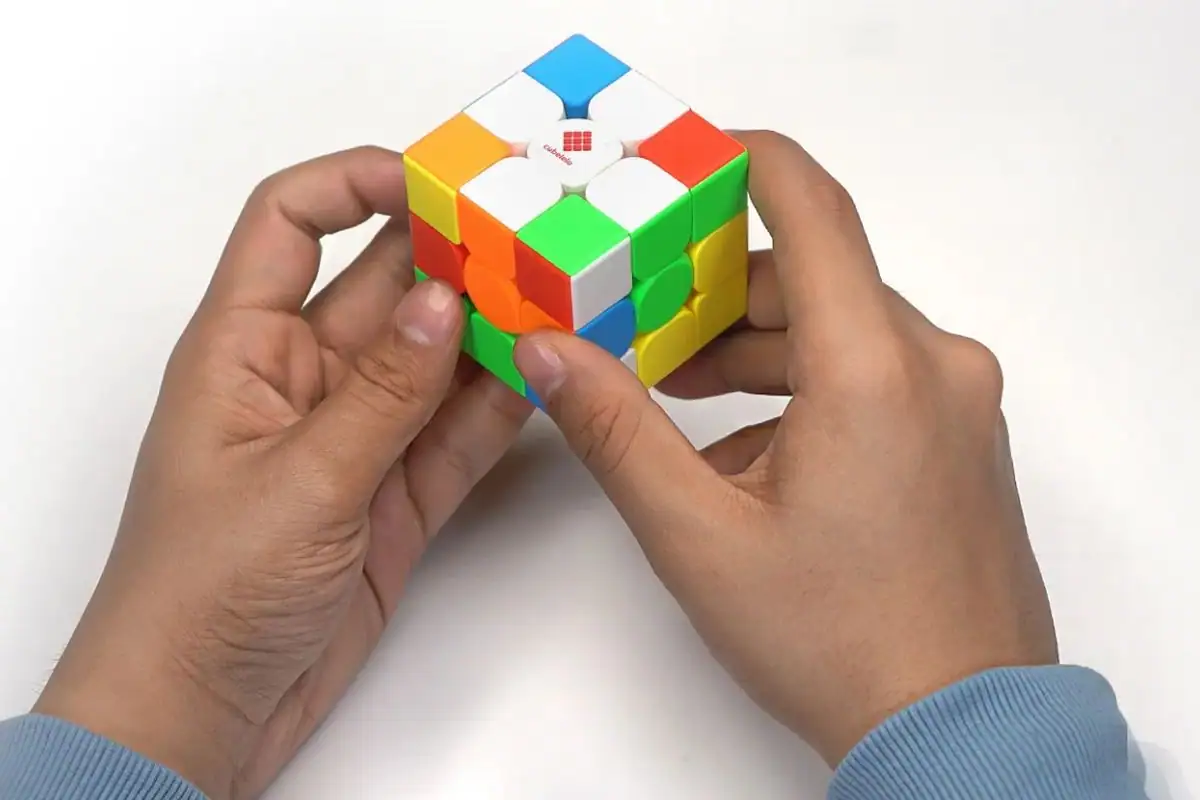
Start with the white side. With the white centerpiece on top, work to create a white cross. Find the white and blue edge piece and move it to the bottom of the cube. Rotate the bottom until the white and blue edge is directly under the blue centerpiece. Hold the cube so that the blue centerpiece is on your right and rotate the right face until the edge is at the top. Repeat this process for the other edge pieces, matching the white side with the corresponding center colors. Practice this step, as it sets the stage for everything that follows.
Advertisement
Step 3: Get Those Corners in Place
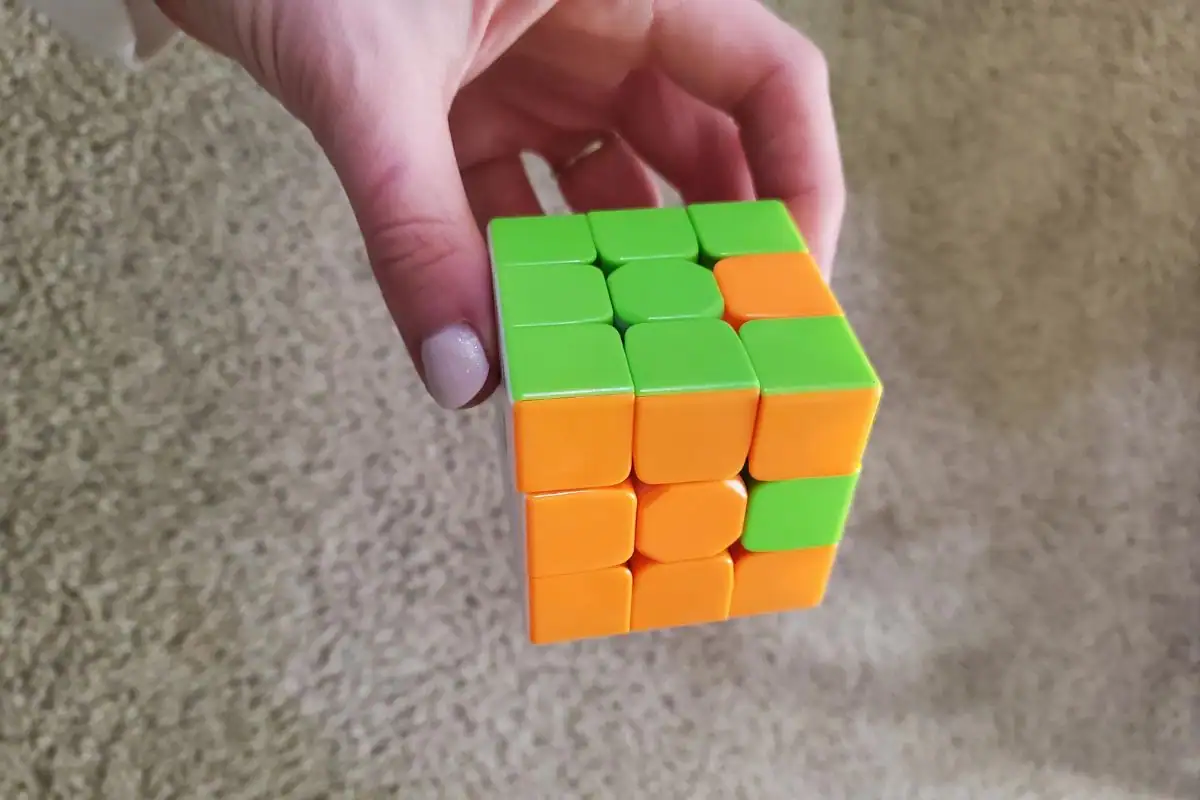
Now, it’s time to tackle the corners. Each white corner piece has three colors. The goal is to position these pieces around the white cross. If a corner piece is already at the bottom, rotate the bottom face until it’s directly beneath the spot it needs to occupy. Turn the bottom face and the side face until the corner piece moves to the top. Repeat this for all the corners until you complete the entire white face. It might take a few tries, but keep at it—you’re making progress!
Advertisement
Step 4: Solve the Second Layer
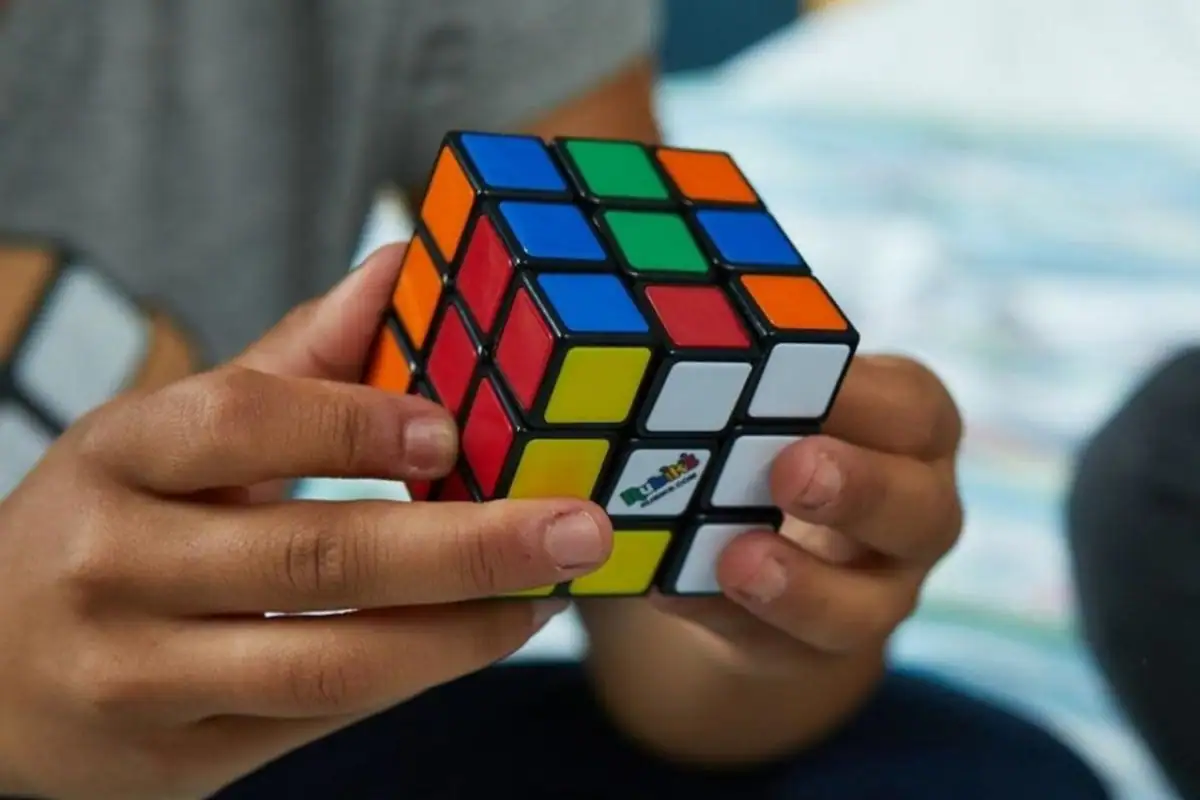
Next, work on the middle layer. With the completed white face on the bottom, create a vertical row by turning the top face until an edge piece matches the color of a side centerpiece. Once aligned, move the edge piece into the middle layer, either diagonally or horizontally. If a piece is incorrectly placed, repeat the steps until two layers are correctly aligned. This part is trickier, so be patient and don’t rush—every solver encounters setbacks here.
Advertisement
Step 5: Form the Yellow Cross
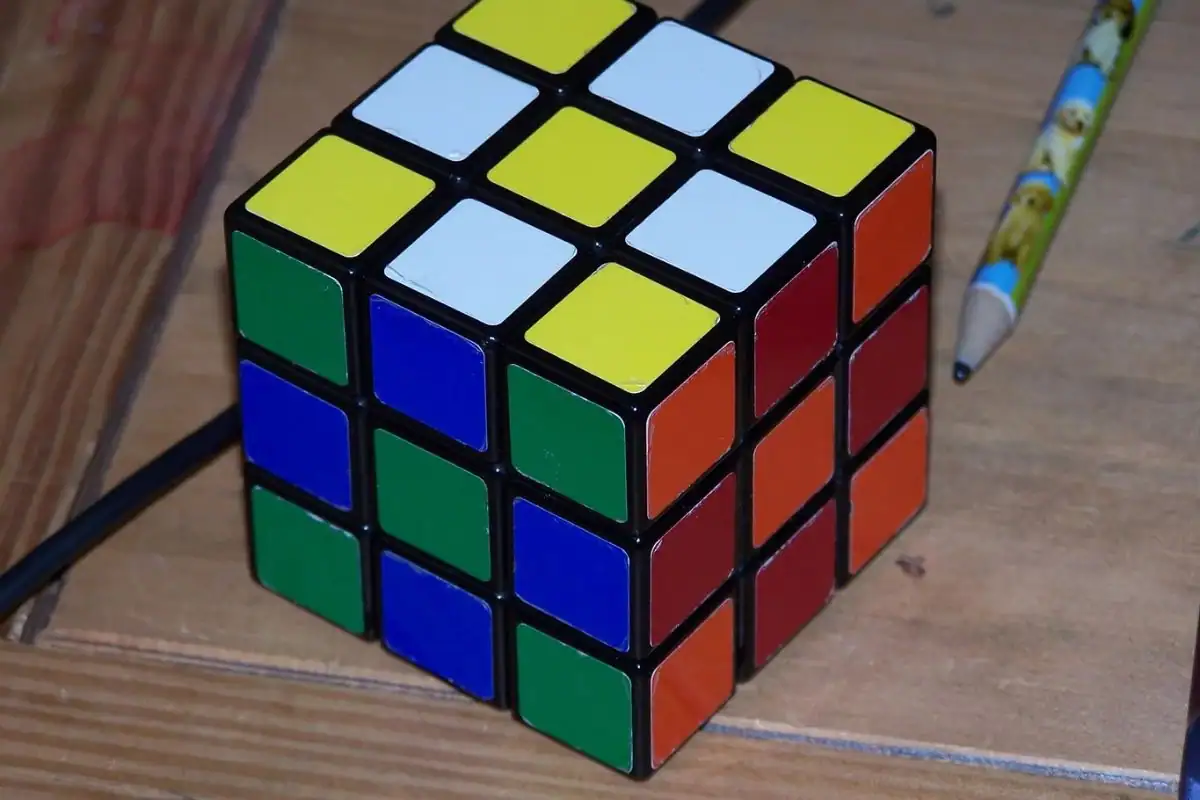
Now that you have two solid layers, focus on the top. The aim is to create a yellow cross, similar to how you started with the white. If there aren’t any yellow pieces on the top, position a yellow corner on the left face and rotate. If one yellow corner is already in place, match the front face to it and continue until the entire top is yellow. This step is a little more challenging, so don’t get frustrated if it takes a few tries.
Advertisement
Step 6: Align the Final Layer
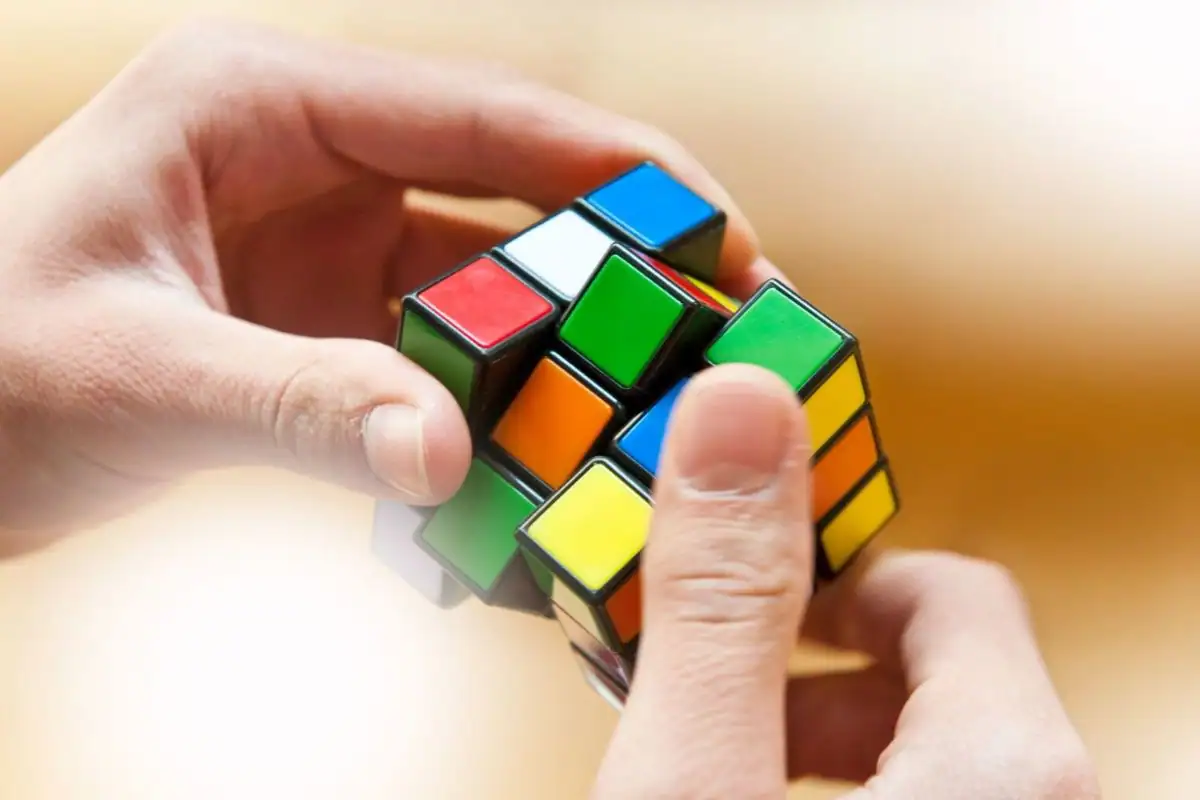
Finally, it’s time to finish. Keep the yellow face on top and twist it until two adjacent corners are correctly positioned. If only two corners align, position them at the back and adjust the other two. If all four corners are in the wrong spot, make sure the first two are positioned correctly and adjust accordingly. Once the corners are aligned, ensure the yellow edges are also correct. Rotate the top face and make any necessary clockwise or counterclockwise adjustments until all edges match their centerpieces.
Advertisement
Victory Is Yours!
Congratulations! If you’ve followed these steps and successfully completed the Rubik’s Cube, you’re in an elite club. Friends and family might start assuming your IQ is through the roof. Solving a Rubik’s Cube is more about dedication and practice than sheer intellect, so take pride in your accomplishment. If you didn’t get it on your first try, don’t sweat it. Practice makes perfect, and soon enough, you’ll be solving the cube effortlessly, even with your eyes closed.
Advertisement
Spread Your New Skills
Now that you’ve mastered the Rubik’s Cube, why not share your knowledge? Teaching others can be just as fun as solving the puzzle itself. Keep in mind that while solving a Rubik’s Cube is a skill you won’t easily forget, regular practice helps keep it fresh. It’s a classic challenge that’s been around for decades, long before smartphones and video games. And hey, it doesn’t need batteries!

.png)


